I wrote an article for Fathom Magazine that attempts to answer my daughter’s questions about how God appears to be male or at least masculine and if the second personContinue readingThe Incarnation and the Gender of God
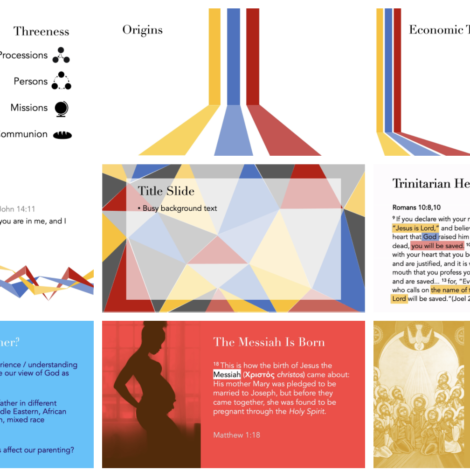
A few years ago, I started teaching the second class in Dallas Theological Seminary‘s systematic theology sequence—ST5102 Trinitarianism—in which we get to spend an entire semester covering the doctrine ofContinue readingTrinity Icons and Powerpoint Template
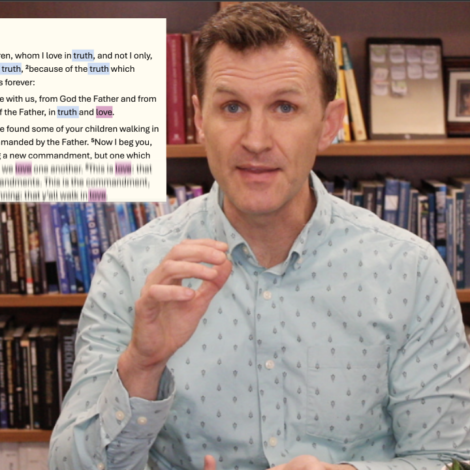
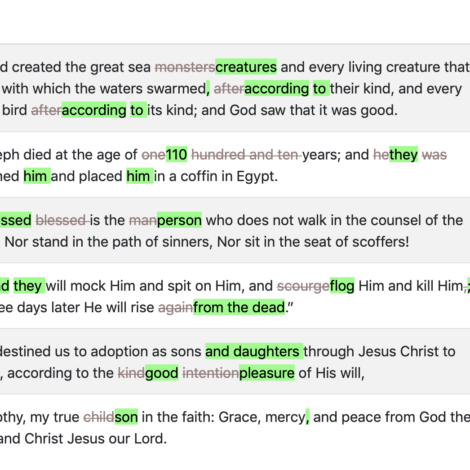
The Lockman Foundation just released the a major update to the New American Standard Bible (NASB), and I’ve attempted to provide a summary of the changes here (similar to the NIVContinue readingNASB 1995 / NASB 2020 – Every Change